
Many believe that the year 2012 will see the world coming to an end. Some people still believe that it might not be true.
However, whatever may be the future enjoy the present and live your life to the fullest.
I love trying out something different in case of photo manipulations.
Hope you learn something from this Photoshop tutorial.
Sources used:
Final Image Preview

Step 1:
Open the city image in Photoshop.
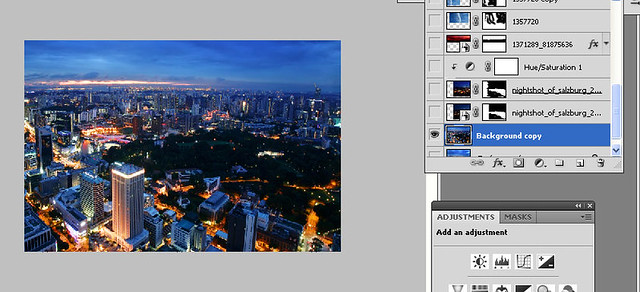
Step 2:
Now open the city 2 image.
Remove the background except the circular lights part. Now place it as shown in our city 1 image.

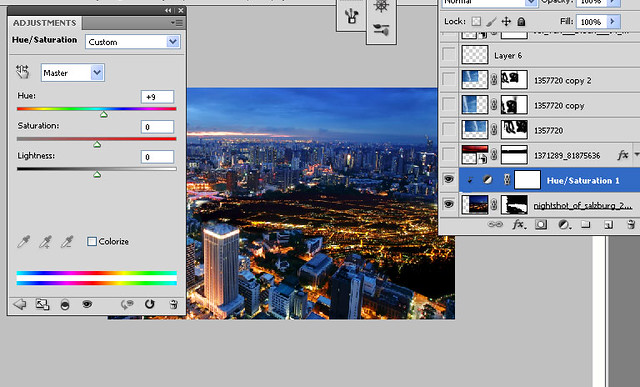
Step 3:
Now we need to blend the circular lights ( city 2 ) image with our main city image. So apply hue/saturation. Right click and select create clipping mask. Clipping mask affects only a particular layer. Here this affects only the circular lights layer.
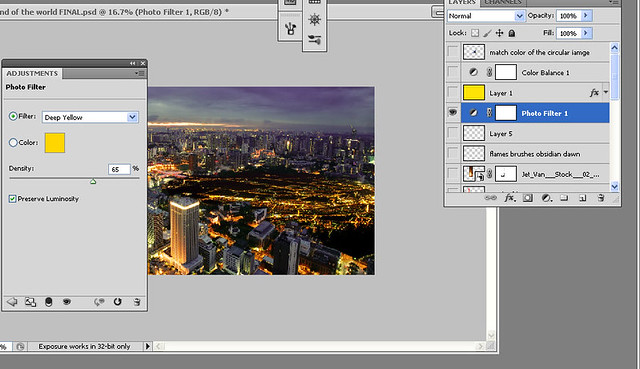
Step 4:
Now go to Image> Adjustments > Photo filter.
Apply the following values.
Deep yellow—65%
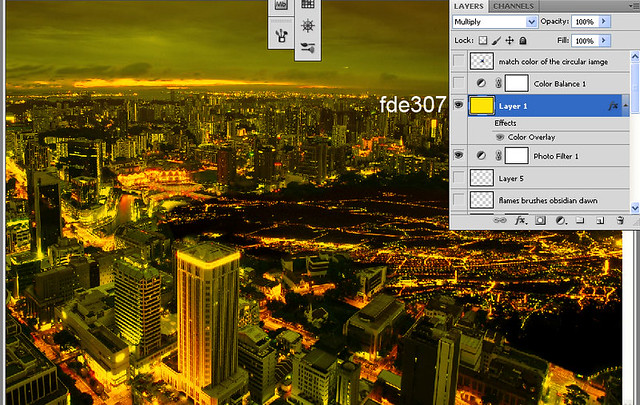
Step 5:
Create a new layer with Multiply blending mode.
Use the paint bucket and fill this layer with fde307 (yellow color). You will get the following image.
Now apply color overlay( a red color ed1f24) to this layer and select the following values as shown below. Choose “color burn” blending mode and reduce the opacity to 66%.

You can see that the buildings are on fire now!! We need to just add the flames!!
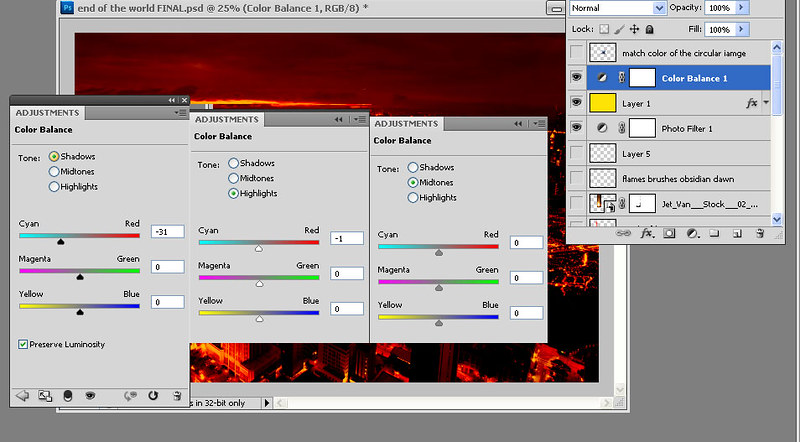
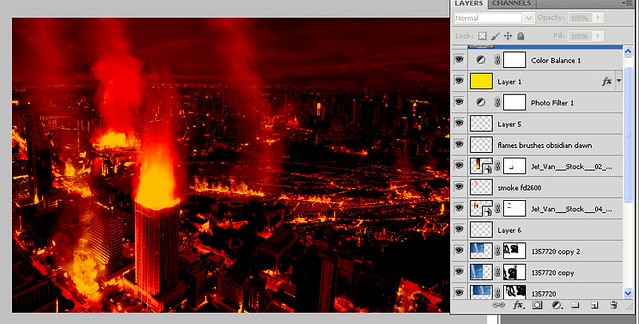
Step 6:
Apply color balance.
Step 7:
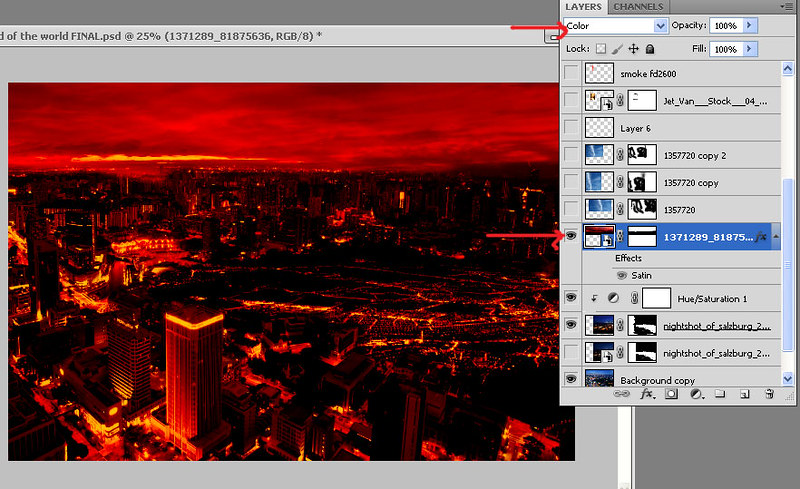
Now open the sky image and drag it above the buildings layer.
Erase the black portion of the sky and Free transform it.
Set the blending mode of this sky layer to color.
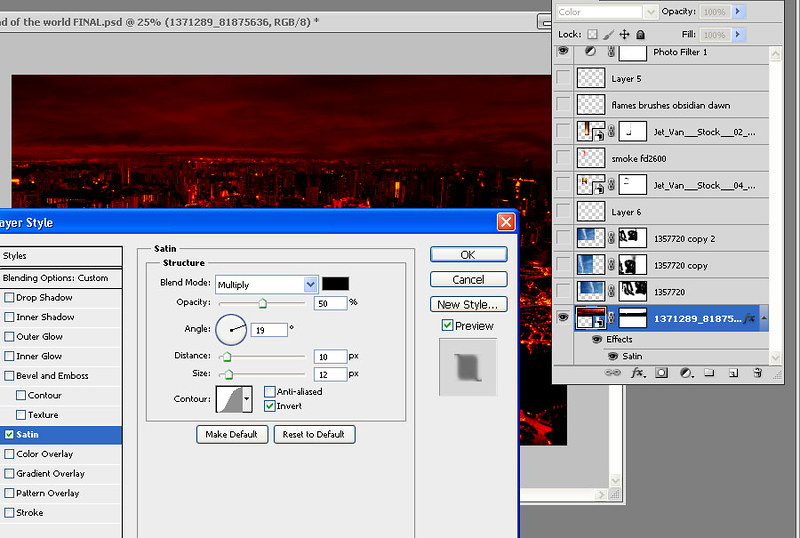
Now right-click the sky layer. Go to blending options and apply satin effect.
Set the following values.
Step 8:
Now open the sky 2 image which looks like smoke.
Remove the background except the smoke in the sky 2 image. Drag this sky 2(smoke) to our document.
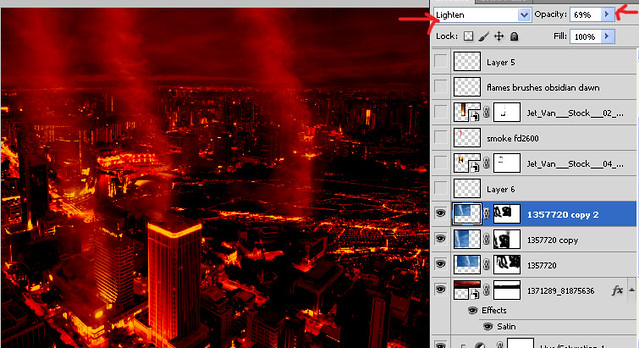
Change the blending mode of this smoke to lighten and reduce the opacity to 69%.
Duplicate this smoke layers 3 times.
Place these randomly on our image where you will be adding the fire.
Step 9:
Now open Fire 1 image and place it as shown. Erase the edges of this image to blend with our image.
Change the blending mode of this layer to lighten.
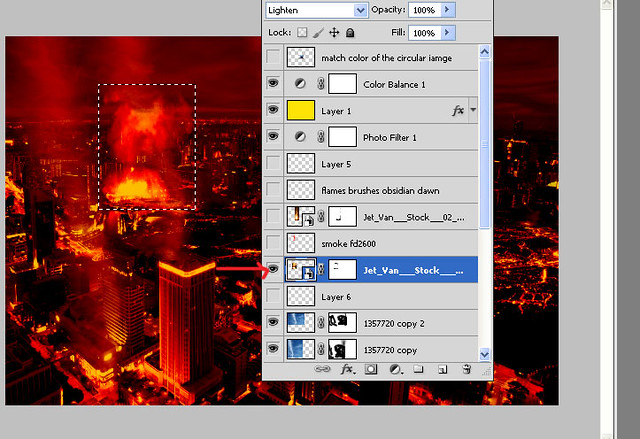
Now open fire 2 image and place it as shown. Erase the edges of the image.
Change the blending mode to lighten.
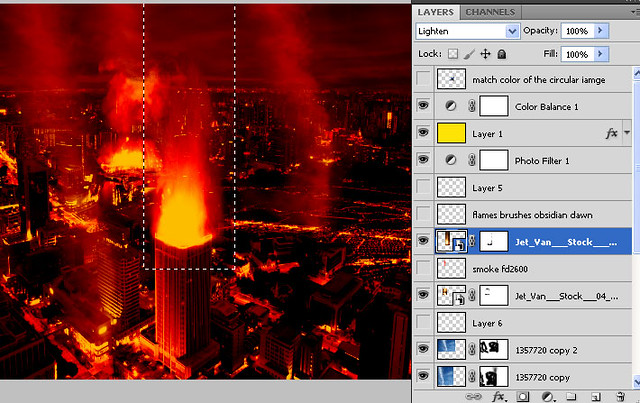
Step 10:
Now load DRY MEDIA brushes.
Select the last brush in this set and paint smoke with a red color fd2600 on the area shown. Make sure that the opacity is 20-30 % before you paint the smoke.
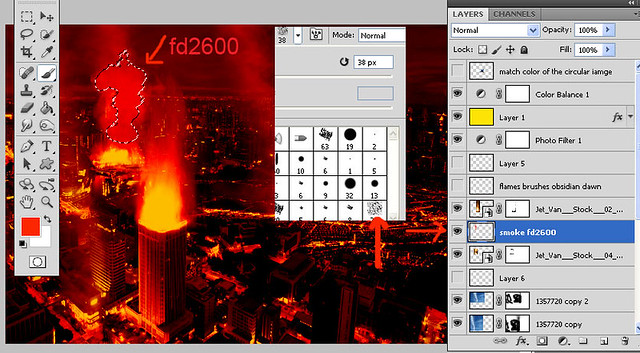
Paint more smoke.
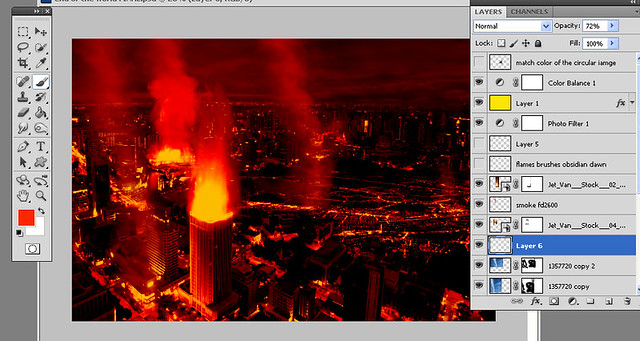
Step 11:
Now load the flames brushes from obsidian dawn. Paint the flames with a pale yellow color fce5bc. Note that you will need to click the brush twice on the selected area to paint realistic flames. Select different brushes of your choice and paint the flames.

Your image is almost done. Just a few more steps.
You will get the following image after painting the flames.
Step 12:
Now save your image. Open your image in a new document.
Create a new layer. Fill with a light blue color 76f7f6.
Set the blending mode to soft light and reduce the opacity to 55%.

Step 13:
Now create a new layer. Fill with a purple color.
Change the blending mode to pin light and reduce the opacity to 31%.

Apply color overlay to this layer. Apply a blue color and change the mode to subtract.

Step 14:
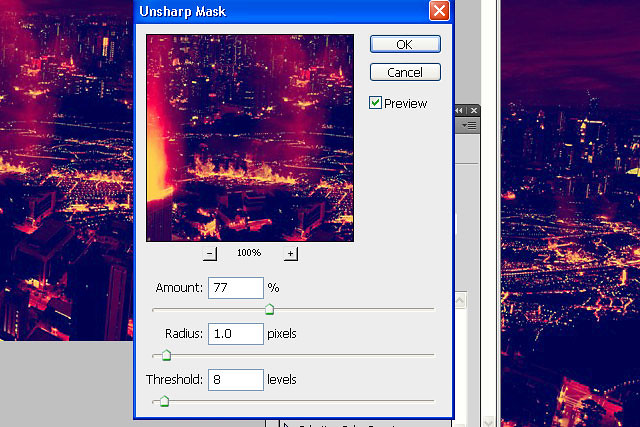
Go to image> apply image.
Apply Filter > sharpen > unsharp mask. Apply the following values.
Unsharp mask brings back the fine details of the image.
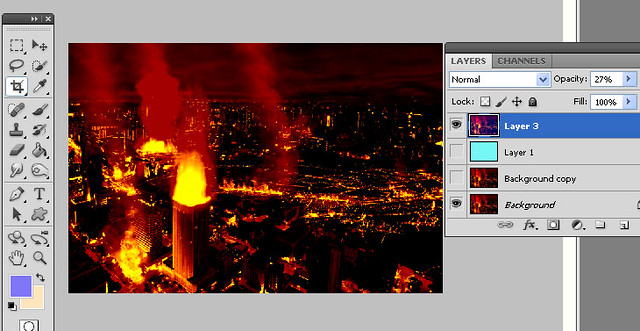
Step 15:
Now reduce the opacity of this layer to around 27%.
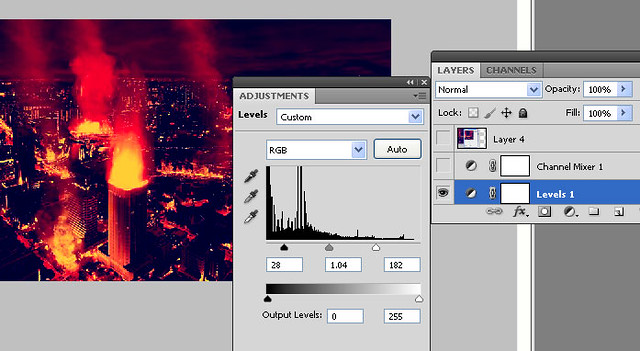
Step 16:
Apply levels.
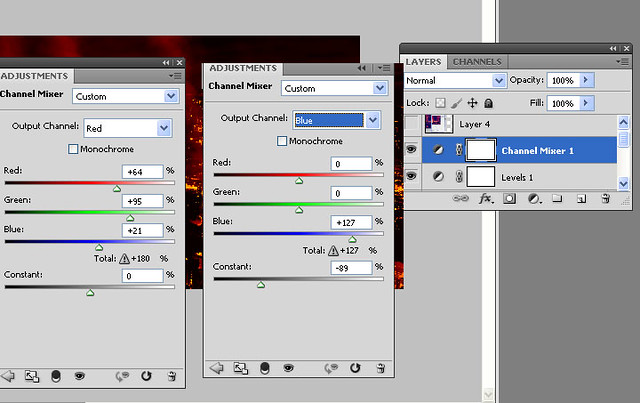
Step 17:
Apply channel mixer.
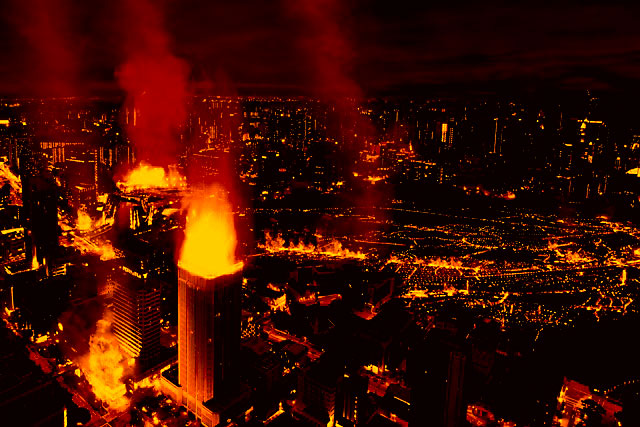
THIS IS THE FINAL IMAGE WE GET!! Hope you enjoyed reading my tutorial.


Excellent post my friend 🙂
thank u!!
The pics helped me understand the post!