
You must have heard of the popular The scream movie.
In this photoshop tutorial , let’s make some scary photo manipulation based on the theme of Scream!! I used photoshop cs5 for this manipulation.
Sources used:
Forest
Scream
Horse
Light Beams brushes
Aurora brushes
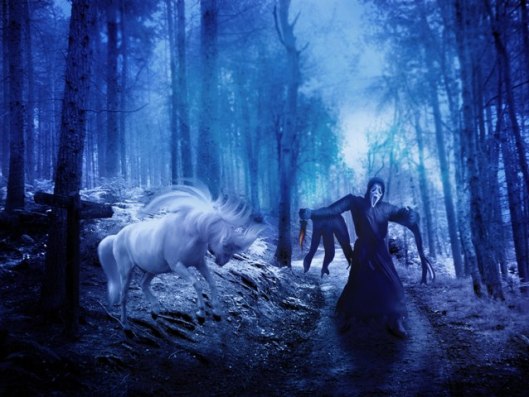
Final Image Preview

Step 1:
Open the forest image in Photoshop cs5.
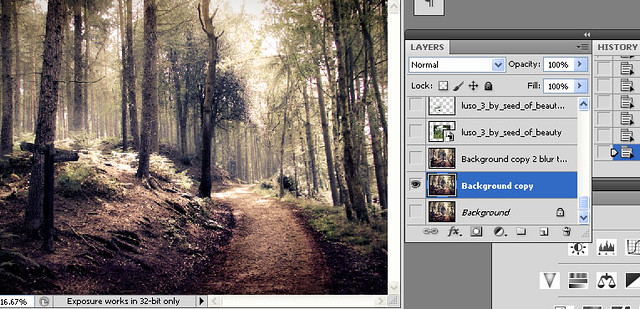
Duplicate the forest layer. Use blur tool with 50% strength and blur a certain part of the forest. The area to be blurred is shown by an arrow.

Step 2:
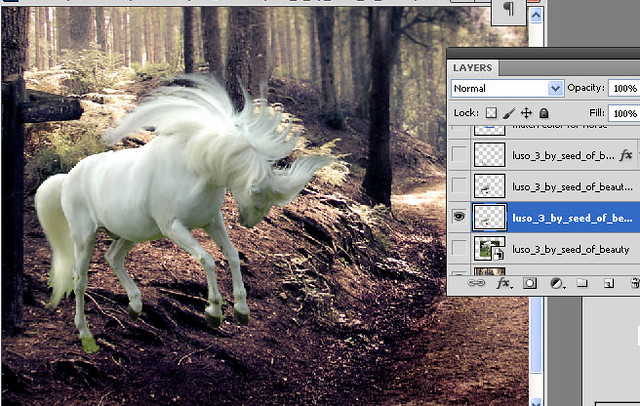
Open the horse image. Remove its background. Select the horse, Right click and select the option Flip horizontal to change the direction of the horse. Use the smudge tool to paint the horse’s hair. I used a Wacom tablet for painting the hair. Also use the smudge tool to smoothen the skin of the horse.
Step 3:
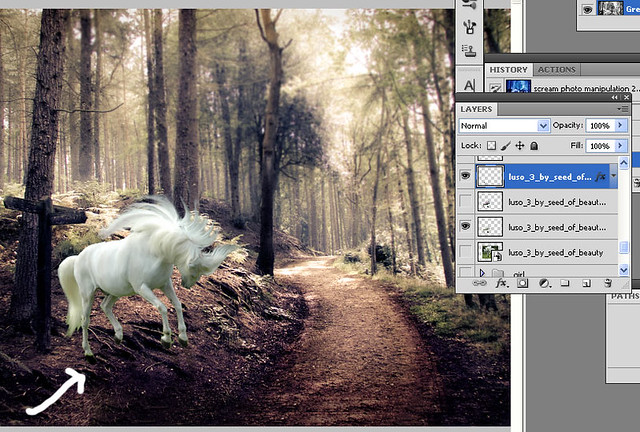
Add the shadow of the horse. This can be done duplicating the horse’s layer, flip vertical, fill it with black. Lower the opacity. Apply Gaussian blur.
Step 4:
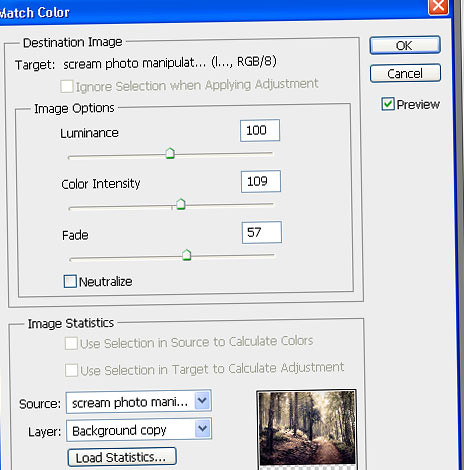
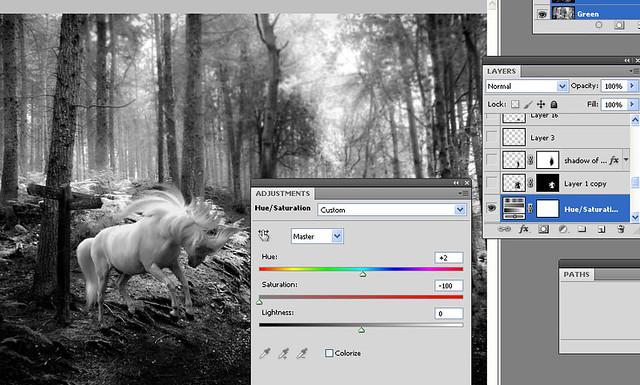
Now match color of the horse with the background image. Select the horse layer.
Go to Image> adjustments> Match color and set the following values. Make sure that under the “layer” option the forest image is selected. You can see that below.
Now apply Hue/saturation. Set the following values.
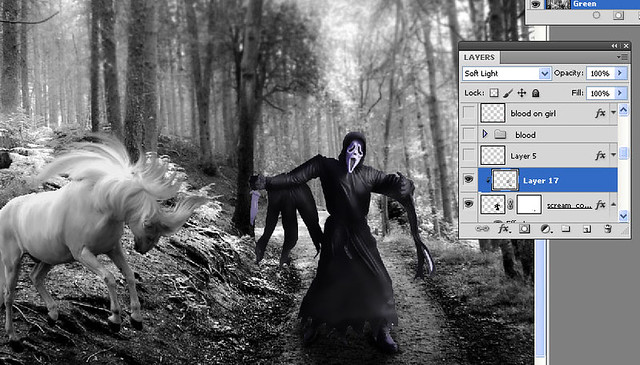
Step 5:
Open the scream image. Remove its background and place it as shown.
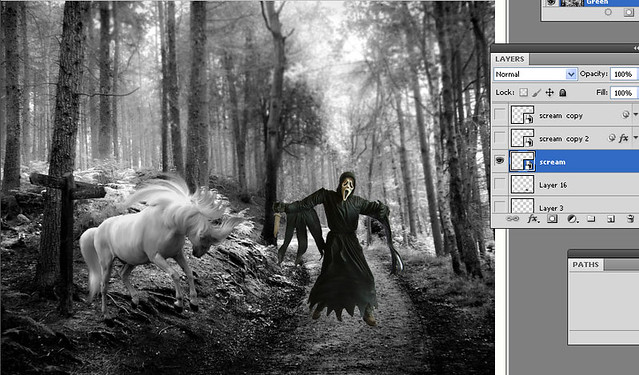
Add the shadow of the scream. Duplicate the scream layer, Flip vertical, fill with black and lower the opacity. Apply Gaussian blur.
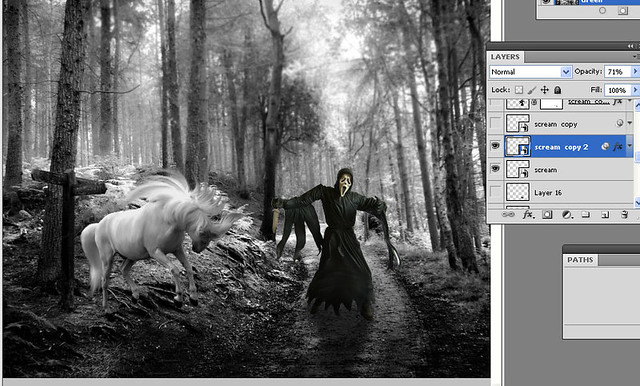
Create a new layer with soft light blending mode. Paint with a black soft brush of low opacity to add more shadow near the feet of the scream.
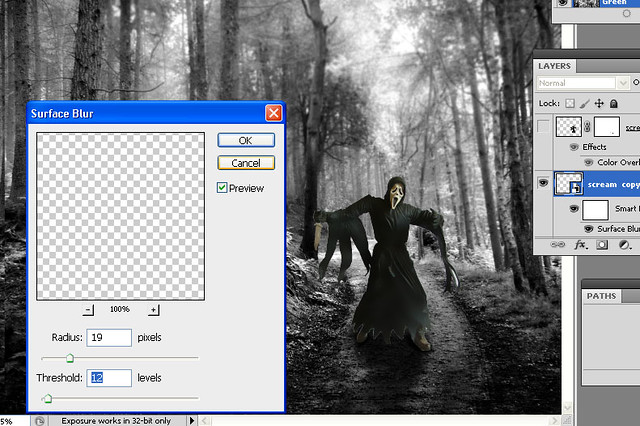
Step 6:
Apply Surface blur to the scream by going to filter> blur> surface blur. Apply the following values.
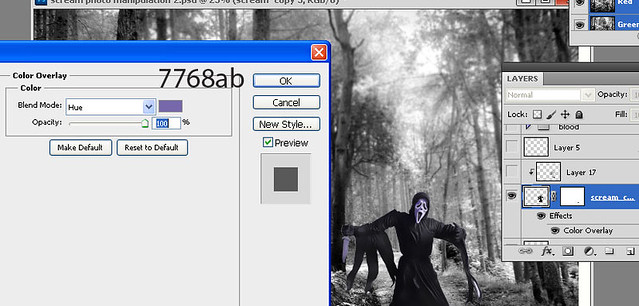
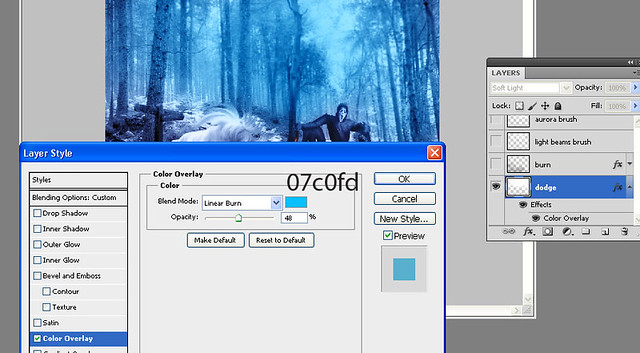
Apply color overlay to scream.
Now create a new layer with soft light blending mode. Right click this layer and select create clipping mask. Now with a black soft brush of low opacity, paint the shadows of the scream. Also paint the highlights with a white brush. You can notice that the scream looks much better now!
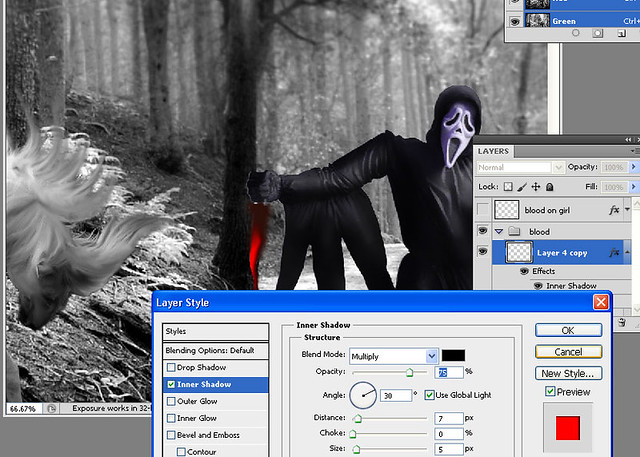
Now select a dark red color and paint the knife of the scream.
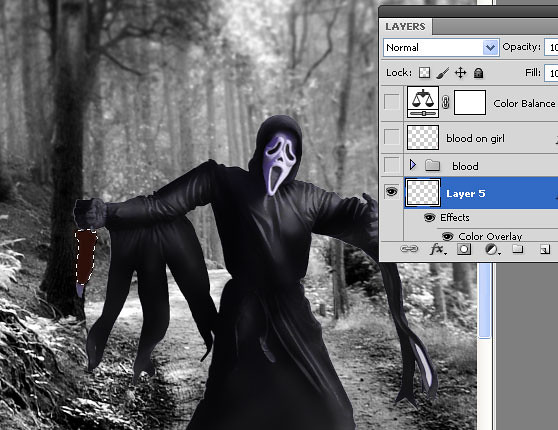
Create a new layer. Paint with a bright red color on the knife and apply inner shadow. The settings are as shown.
Step 7:
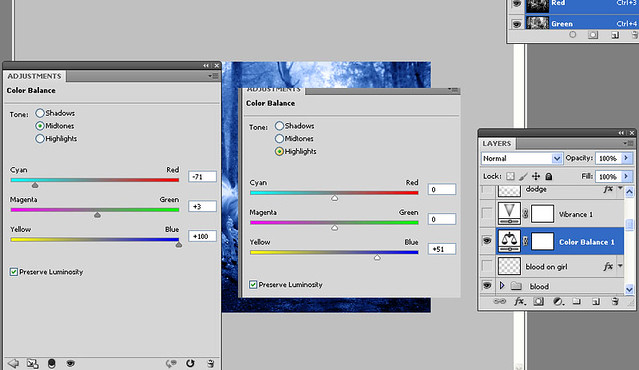
Apply color balance. The values are as shown.
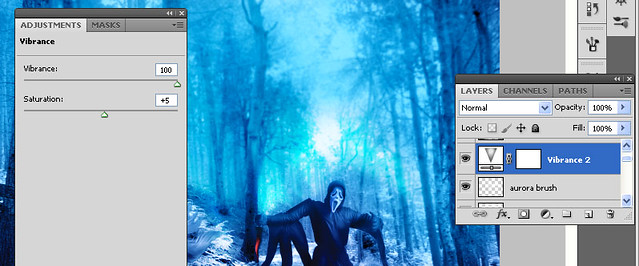
Step 8:
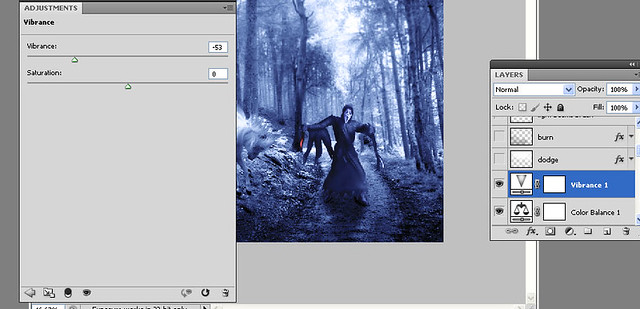
Apply vibrance.
Step 9:
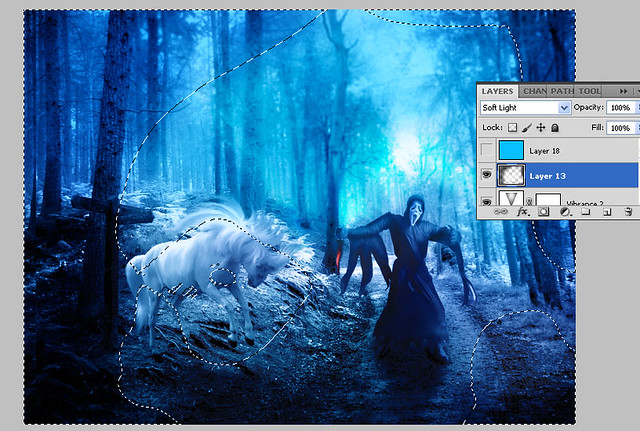
Create a new layer with soft light blending mode. Paint the sky with a soft white brush of low opacity. The area to be painted is shown by arrows.
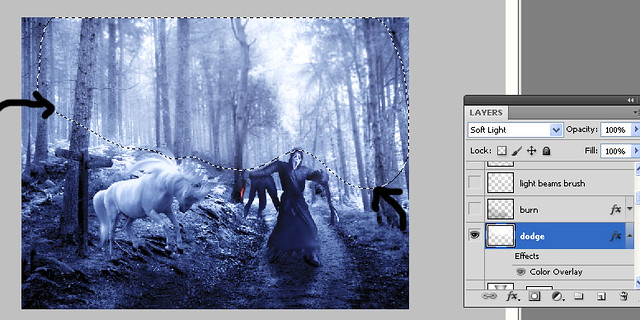
Now apply color overlay to this layer. Right click> select blending options > choose color overlay. The settings are as shown.
Step 10:
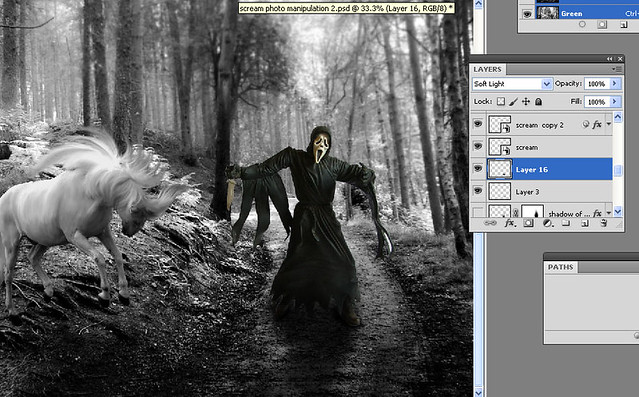
Now create a new layer again with soft light blending mode. Paint the ground area with a black soft brush of low opacity.
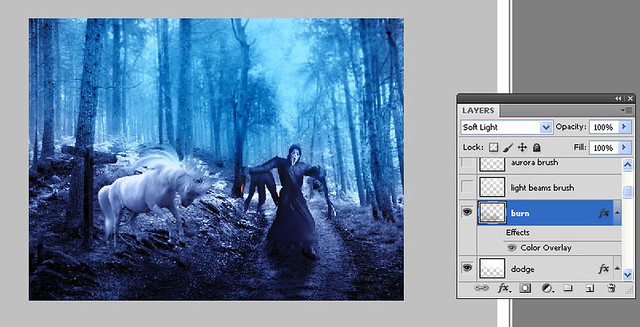
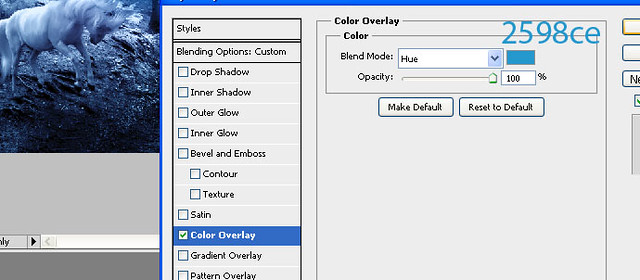
Apply color overlay to this layer.
Step 11:
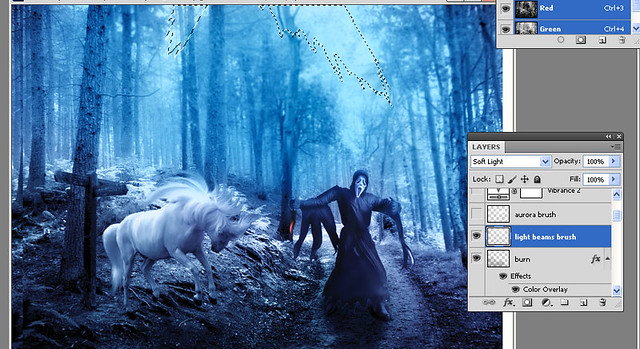
Create a new layer with soft light blending mode. Select the light beams brushes and paint using a white brush on the sky by clicking once. You can see the light beam on the selected area below.
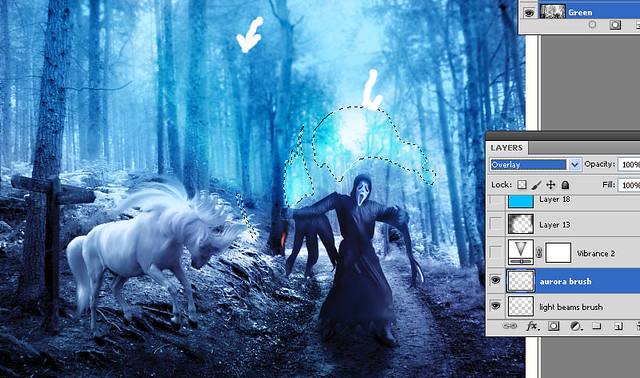
Step 12:
Create a new layer with overlay blending mode. Paint on the sky using the aurora brush with a white color. You can see this auroras shown by arrows.
Step 13:
Apply vibrance.
Step 14:
Create a new layer with soft light blending mode. With a black brush paint the image to darken certain areas. I darkened the corners of the image. You can see the change below.
Also using white soft brush paint on the center of the image. This lightens the image.
You can see the selected area below.
Step 15:
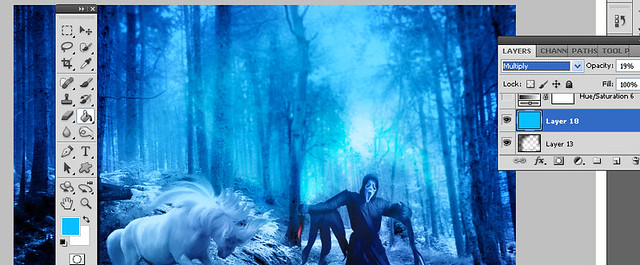
Create a new layer with multiply blending mode.
Lower the opacity to 19 %. Now with the paint bucket fill this layer with a sky blue color as shown.
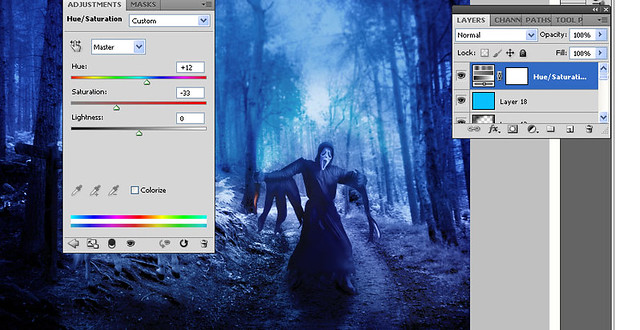
Step 16:
Apply Hue/saturation. The values are as shown.
This is the final image we get!! Hope you enjoyed reading my tutorial! 😀


Great tutorial my friend , Good work 🙂
Good heavens, how clever! I’ve never used Photoshop so I’m quite amazed.
thanks a lot!! 🙂
thank you!
thanks a lot!